
Bosch
Loading…
P
- PKN601DP1D2
- PKN601DV1M3
- PKN601N14
- PKN601N14D
- PKN631FP2E
- PKN642F17R7
- PKN645BA1E6
- PKN645C14
- PKN645D172
- PKN645E14
- PKN645F173
- PKN645F17R6
- PKN645FP1E4
- PKN646F17R3
- PKN651F174
- PKN651F17E
- PKN651FP1E2
- PKN651N14D2
- PKN675DB1A4
- PKN675DB1D
- PKN675DK1D4
- PKN675DP1D6
- PKN675N14A2
- PKN675N34D
- PKN675T012
- PKN675T92E
- PKN677T01
- PKN679C14D7
- PKN68
- PKN685N14E10
- PKN685T01E7
- PKN687T01E9
- PKN6..N142
- PKN6..N152
- PKN6..T..2
- PKN715T01E7
- PKN79..
- PKN791E02E9
- PKN811D17E4
- PKN811E14E10
- PKN811FP1E
- PKN815
- PKN815C01E4
- PKN816C01E3
- PKN845F17E
- PKN845FP1E3
- PKN845T14E6
- PKn8..E
- PKN8..T..2
- PKP2
- PKP 18 E10
- PKP 30 LE2
- PKP 3.6LI7
- PKP 7.2 LI
- PKQ 61
- PKQ612V01E5
- PKQ615V01E5
- PKQ616
- PKQ616V01E4
- PKQ645V14E6
- PKQ 67
- PKQ675
- PKQ675T01C7
- PKQ675T01E7
- PKQ 67..C
- PKQ 67..E
- PKQ6..V14
- PKR 67..
- PKR675
- PKR675T01E7
- PKS 10.8 LI
- PKS 14
- PKS 14,4V
- PKS 15002
- PKS 16
- PKS1600
- PKS 1600 Multi3
- PKS 16 Multi6
- PKS 18
- PKS 1842
- PKS 18 LI6
- PKS 18 LI-2
- PKS 4010
- PKS 462
- PKS 544
- PKS 54 CE4
- PKS 5512
- PKS55-2 A4
- PKS55 A11
- PKS 55 А2
- PKS 665
- PKS 66-2 AF4
- PKS66 A11
- PKS66 AF9
- PKS 66 CE4
- PKT 345E
- PKT345EGB
- PKT375E023
- PKT375N14E
- PKU 375 FB 1E
Loading…
Loading…
Nothing found
PKP 18 E
Operating Instructions Manual
32 pgs1.9 Mb0
Operating Manual
48 pgs2.9 Mb0
Original Instructions Manual
6 pgs892.07 Kb0
Original Instructions Manual
5 pgs659.09 Kb0
Service Manual
40 pgs1.91 Mb0
User guide
49 pgs2.06 Mb0
User Manual
5 pgs885.96 Kb0
User Manual [de]
34 pgs1.72 Mb0
User Manual [ru]
47 pgs1.96 Mb0
User Manual [ru]
35 pgs1.75 Mb0
Table of contents
Loading…
…
Bosch Service Manual
Download
Specifications and Main Features
Frequently Asked Questions
User Manual

Loading…
+ 28 hidden pages
You need points to download manuals.
1 point = 1 manual.
You can buy points or you can get point for every manual you upload.
Buy points
Upload your manuals
Bosch PKP 18 E Glue Gun Specification
The Bosch PKP 18 E Glue Gun is engineered for precision and efficiency in adhesive applications, suitable for both DIY enthusiasts and professional users. It operates at a power input of 200 watts, ensuring rapid heat-up and consistent glue flow. The device is designed to deliver a high glue output of approximately 20 grams per minute, facilitating fast and effective bonding. It supports glue sticks with a diameter of 11 mm, providing compatibility with a wide range of adhesive options.
Temperature control is a standout feature, with the glue gun maintaining a consistent temperature of 200°C, ensuring optimal adhesive viscosity for strong bonds. The PKP 18 E is equipped with a mechanical feed system, allowing precise control over the glue flow, reducing waste and mess. Its robust build incorporates a PTC (Positive Temperature Coefficient) heating element that ensures the device heats quickly and maintains temperature stability.
The ergonomic design of the Bosch PKP 18 E includes a comfortable grip and a long trigger for effortless operation, even during extended use. A stable stand provides safe storage and convenience when the device is not in use. The glue gun’s design minimizes dripping, further enhancing its usability and reducing the risk of adhesive waste.
Safety is a priority, with the glue gun featuring an integrated nozzle protection to prevent accidental burns. The PKP 18 E is also designed with a durable housing to withstand the rigors of frequent use. Overall, Bosch has crafted a reliable and efficient tool with the PKP 18 E, ideal for a variety of tasks that require strong, precise adhesive application.
Bosch PKP 18 E Glue Gun F.A.Q.
To start using the Bosch PKP 18 E, plug it into a power outlet and allow it to heat up for about 5 minutes. Insert a glue stick into the rear of the gun and gently squeeze the trigger to release the glue when ready.
Ensure the glue gun has had enough time to heat up. If the problem persists, check for any blockages in the nozzle and clear them carefully. Use only recommended glue sticks for best performance.
To prevent drips, always use the stand to keep the nozzle elevated when not in use, and unplug the glue gun if it will not be used for extended periods.
Regularly check the nozzle for blockages and clean it using a suitable tool. Wipe the exterior with a damp cloth to remove any glue residue. Always ensure the glue gun is unplugged and cool before cleaning.
Overheating could be due to extended use without breaks. Allow the gun to cool down periodically during long sessions. Ensure proper ventilation around the glue gun while in use.
For optimal performance, use 11mm diameter glue sticks recommended by Bosch. Using incorrect sizes can lead to jamming or poor adhesive results.
Ensure the glue gun is unplugged and completely cooled before storing. Place it in a dry, safe location away from children and pets.
Check the power connection and ensure the outlet is functioning. If the problem persists, consult the user manual for troubleshooting steps or contact Bosch customer support.
The Bosch PKP 18 E is versatile and can be used on materials like paper, wood, fabric, and some plastics. However, always test on a small area first to ensure compatibility.
The nozzle should be replaced if it becomes damaged or excessively clogged. Frequency of replacement will depend on usage intensity and proper maintenance.
Table of Contents
- BOSCH PKP 18 E Glue Gun User Manual
- Safety Instructions
- Product Description and Specifications
- Intended Use
- Product Features
- Technical Data
- Assembly
- Operation
- Starting Operation
- Working Advice
- Application Tips
- Maintenance and Service
- Maintenance and Cleaning
- After-Sales Service and Application Service
- Disposal
- References
- Read User Manual Online (PDF format)
- Download This Manual (PDF format)
BOSCH PKP 18 E Glue Gun User Manual


Safety Instructions
Read all the safety information and instructions. Failure to observe the
safety information and follow instructions may result in electric shock, fire
and/or serious injury.
Save all warnings and instructions for future reference.
- Do not allow persons unfamiliar with the glue gun or the instructions to operate the glue gun.
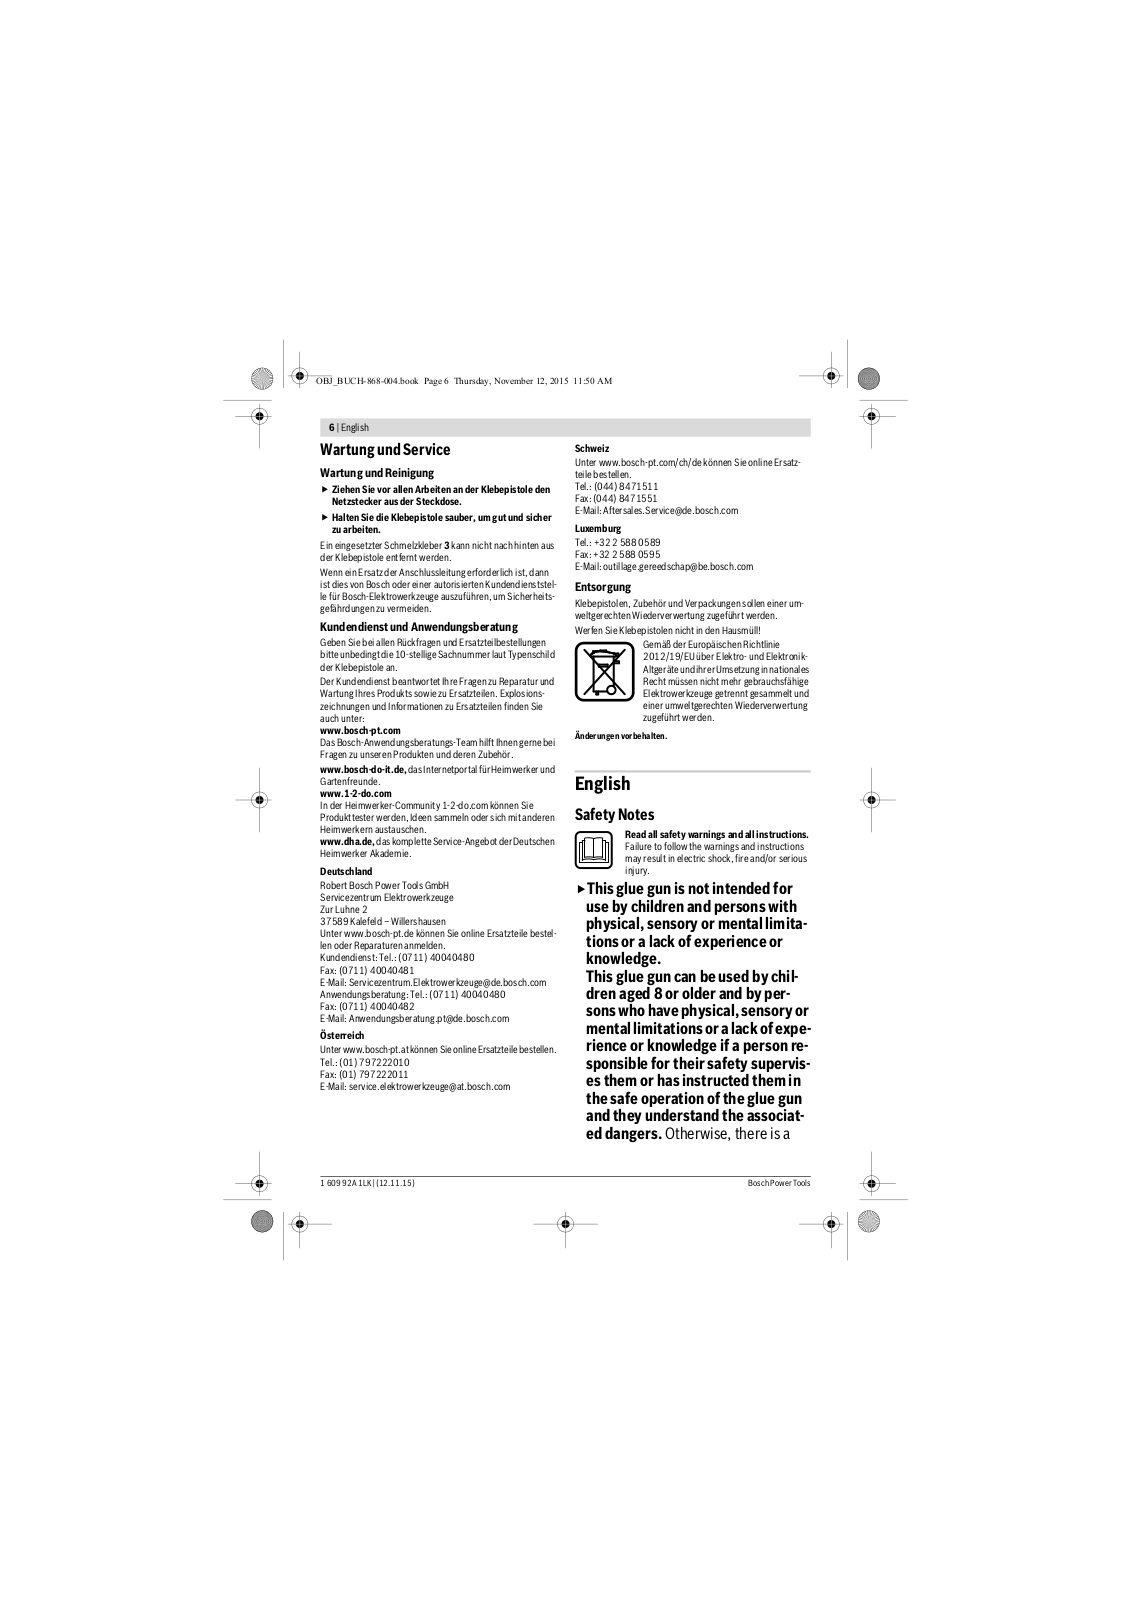
- This glue gun is not intended for use by children and persons with physical, sensory or mental limitations or a lack of experience or knowledge. Otherwise, there is a risk of operating errors and injuries.
- This glue gun can be used by children aged 8 or older and by persons who have physical, sensory or mental limitations or a lack of experience or knowledge if a person responsible for their safety supervises them or has instructed them in the safe operation of the glue gun and they understand the associated dangers. Otherwise, there is a risk of operating errors and injuries.
- Supervise children. This will ensure that children do not play with the glue gun.
- Children must not be allowed to clean and perform maintenance on the glue gun without supervision.
- Always check the glue gun, cables and plugs before using the tool. Do not open the glue gun yourself, and have it serviced only by a qualified repair person using only original replacement parts. Damaged glue guns, cables and plugs increase the risk of electric shock.
- Do not leave the glue gun unattended.
- Do not expose the glue gun to rain or wet conditions. Water entering a glue gun will increase the risk of electric shock.
- If operating the glue gun in a damp location is unavoidable, use a residual current device (RCD) protected supply. Use of an RCD reduces the risk of electric shock.
- Do not throw the glue stick into fire.
- Safely place the glue gun down after use and let it cool completely before packing it away. The hot nozzle can cause damage.
- The plug for the glue gun must match the outlet. Never modify the plug in any way. Unmodified plugs and matching outlets will reduce the risk of electric shock.
- Do not misuse the cable, for example for carrying, hanging or unplugging the glue gun. Keep the cable away from heat, oil, sharp edges and moving parts. Damaged or entangled cords increase the risk of electric shock.
Products sold in GB only:
Your product is fitted with an BS 1363/A approved electric plug with internal
fuse (ASTA approved to BS 1362). If the plug is not suitable for your socket
outlets, it should be cut off and an appropriate plug fitted in its place by
an authorised customer service agent. The replacement plug should have the
same fuse rating as the original plug. The severed plug must be disposed of to
avoid a possible shock hazard and should never be inserted into a mains socket
elsewhere.
- Do not touch the nozzle while it is hot. There is a risk of burns.
Product Description and Specifications
Please observe the illustrations at the beginning of this operating manual.
Intended Use
The glue gun is intended for solvent-free gluing of materials such as paper,
cardboard, cork, wood, leather, textiles, foam materials, plastic (except PE,
PP, PTFE, Styrofoam® and plasticised PVC), ceramics, porcelain, metal, glass
and stone.
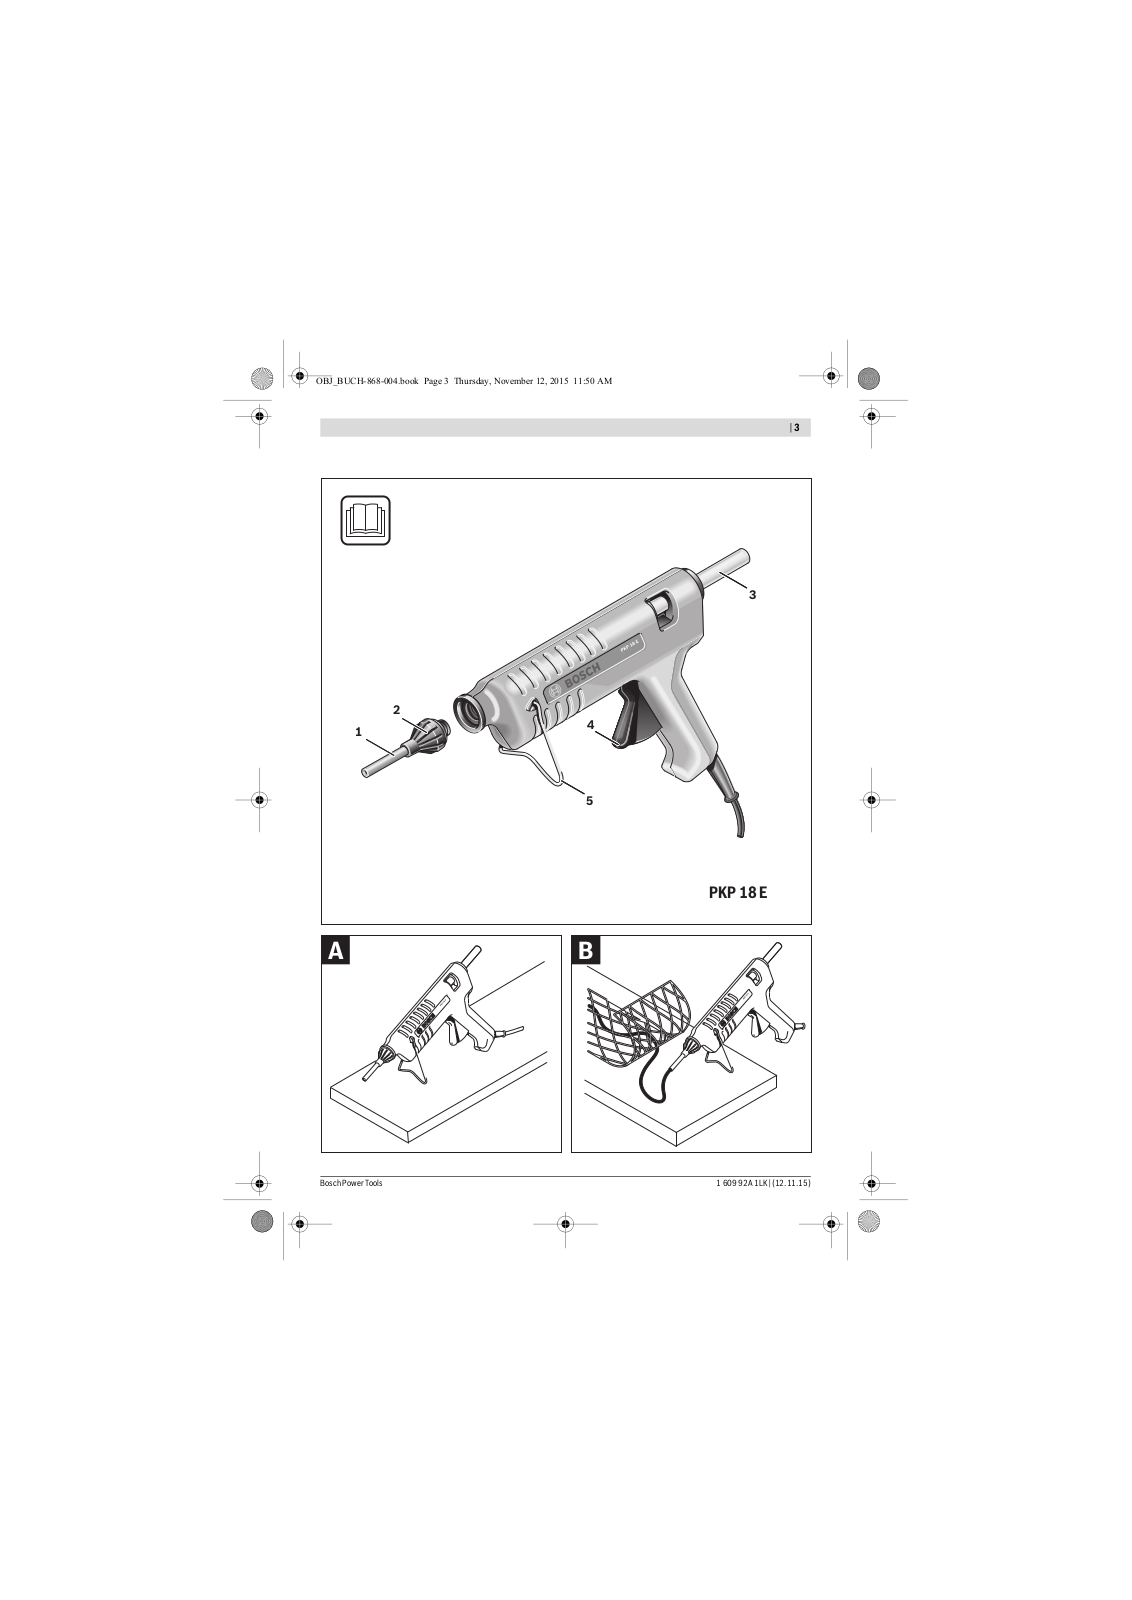
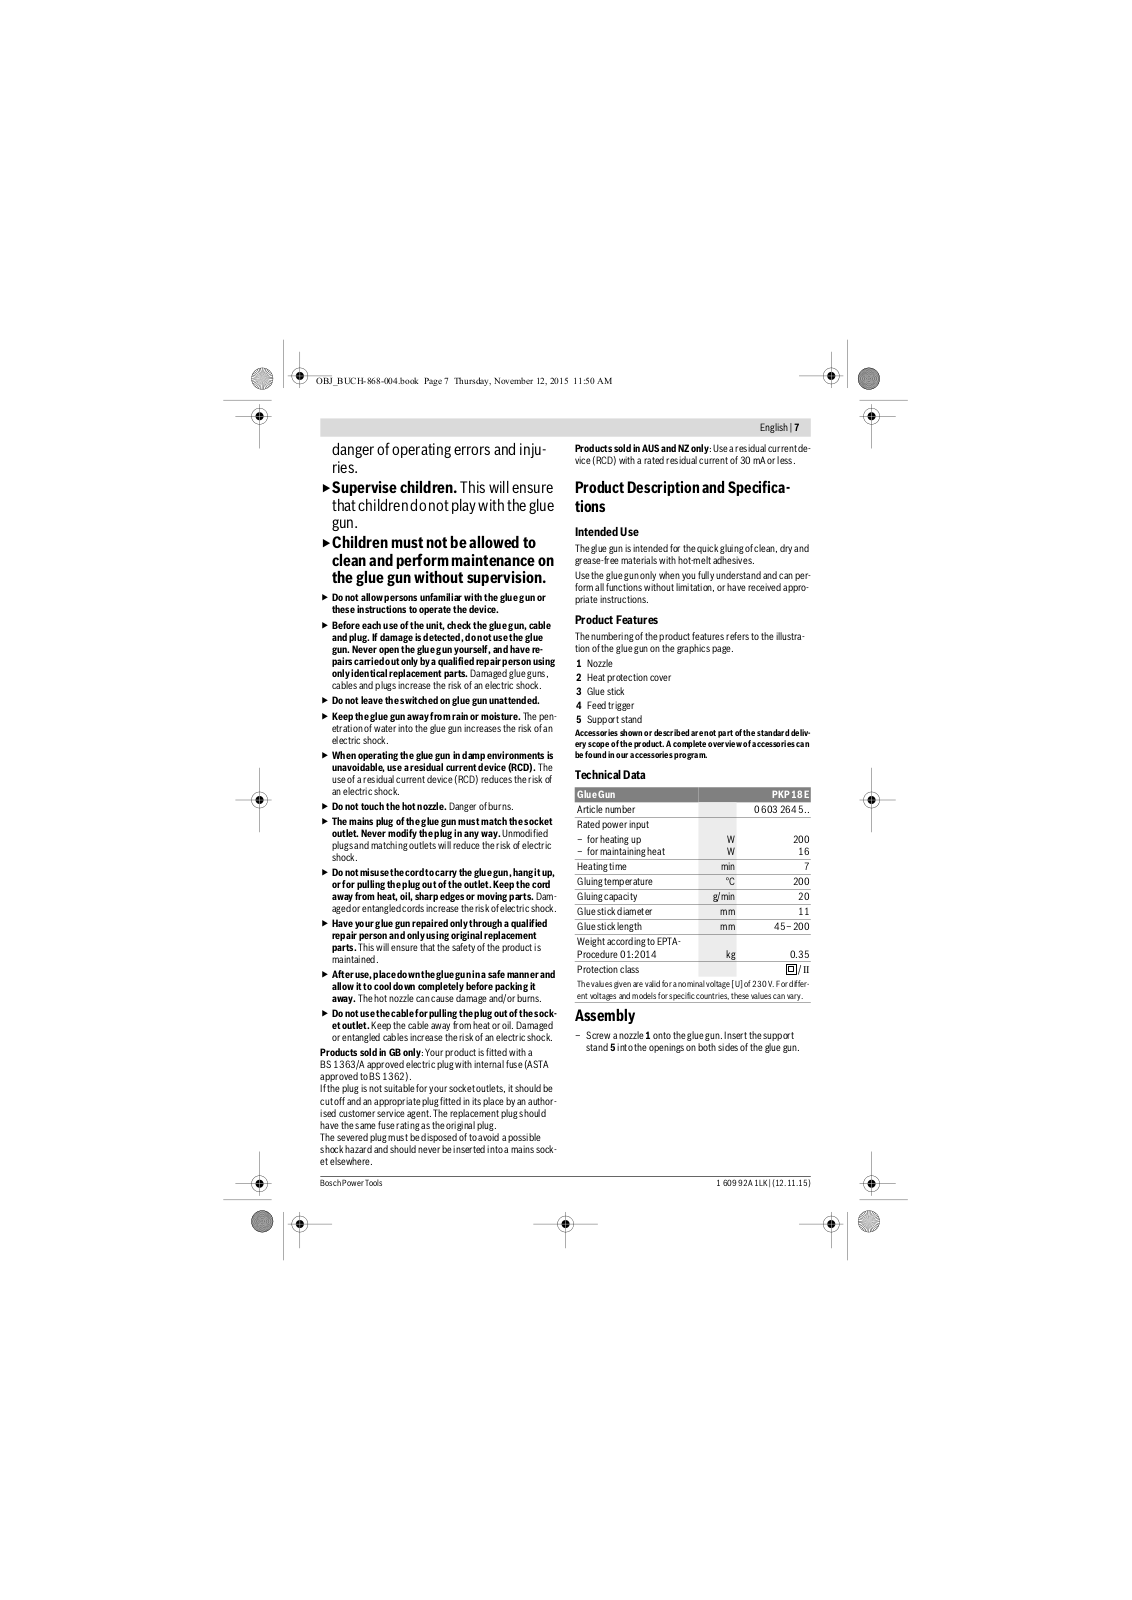
Product Features
The numbering of the product features refers to the illustration of the glue
gun on the graphics page.
- Nozzle
- Heat shield
- Support bracket
- Feed trigger
- Glue stick
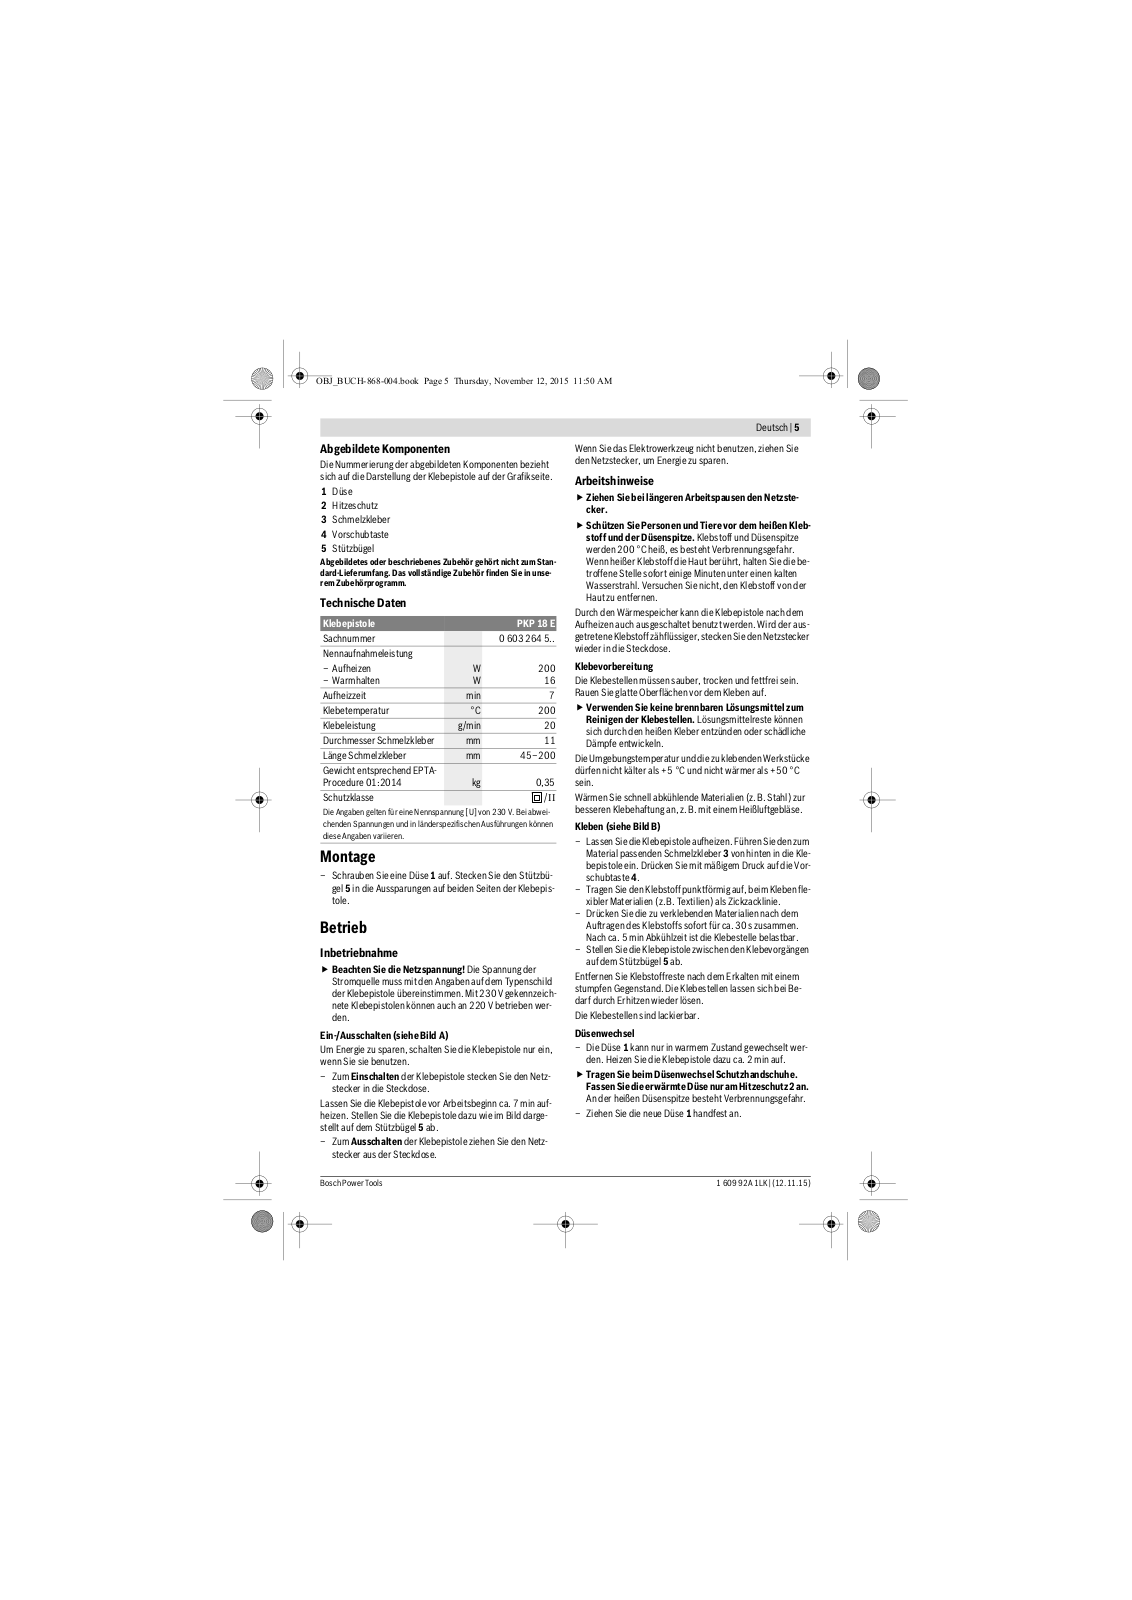
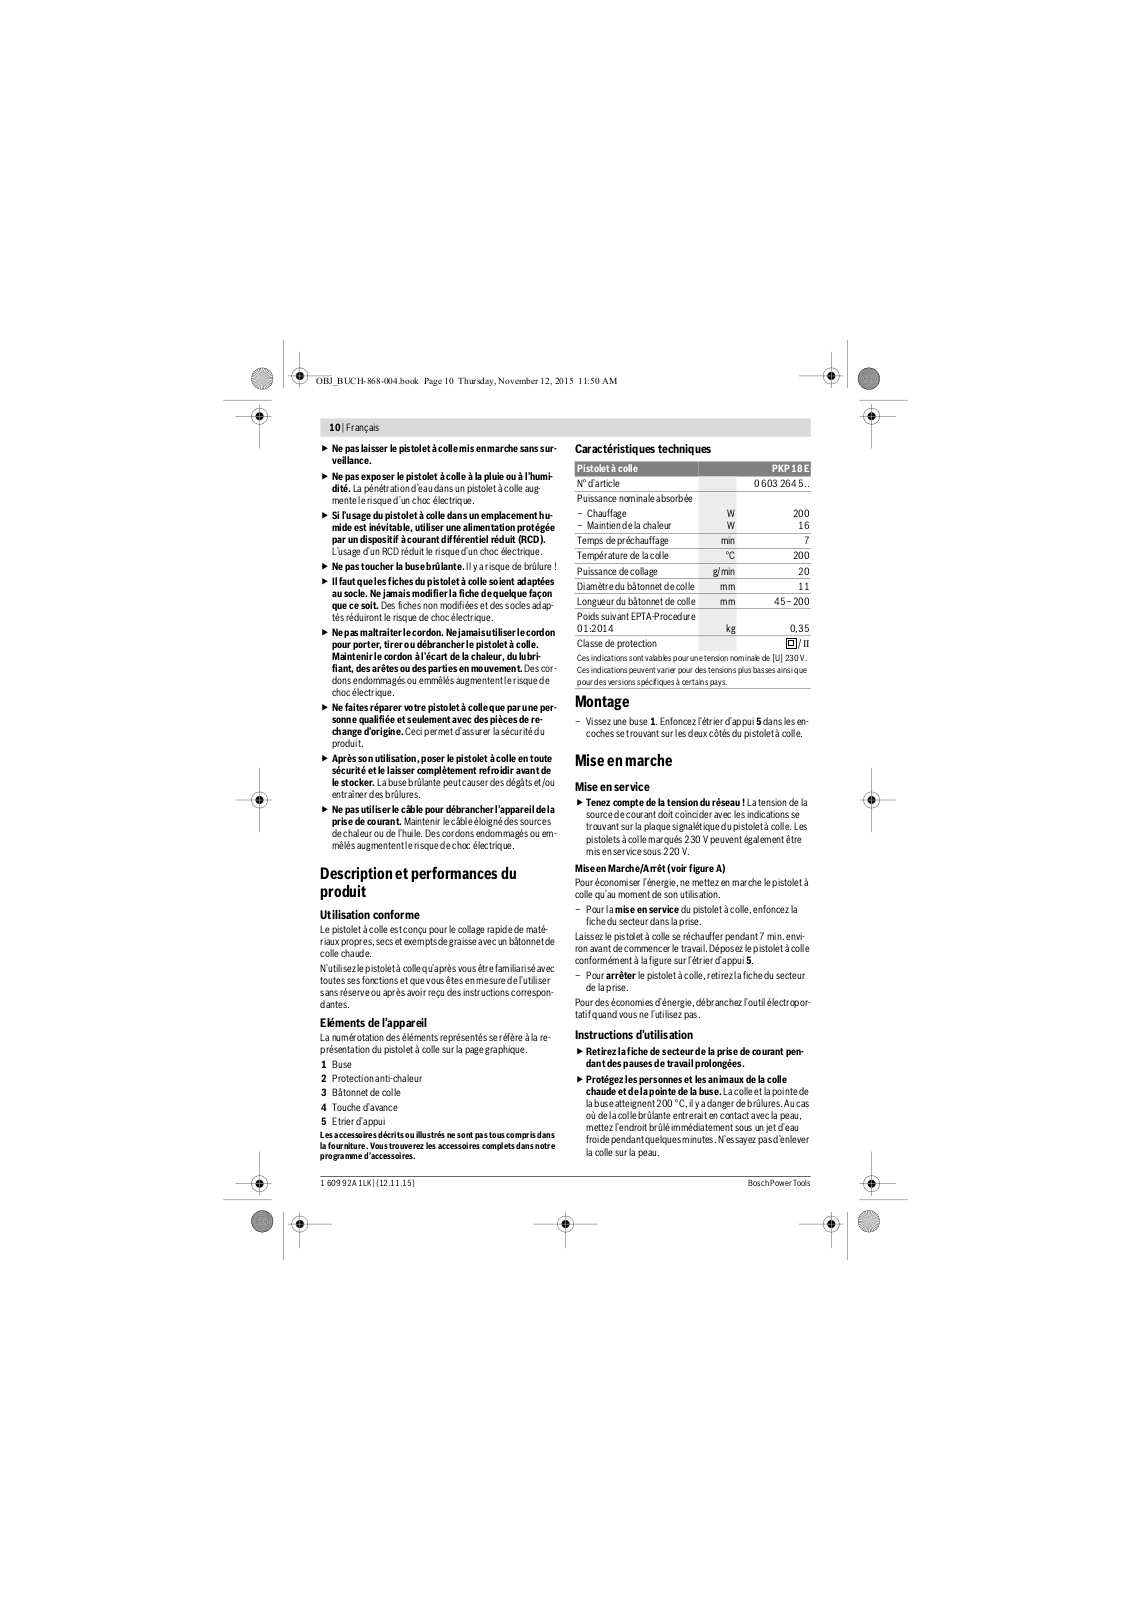
Technical Data
The specifications apply to a rated voltage [U] of 230 V. These specifications
may vary at different voltages and in country-specific models.
Assembly
Screw on a nozzle (1).
Insert the support bracket (3) into the recesses on both sides of the
glue gun.
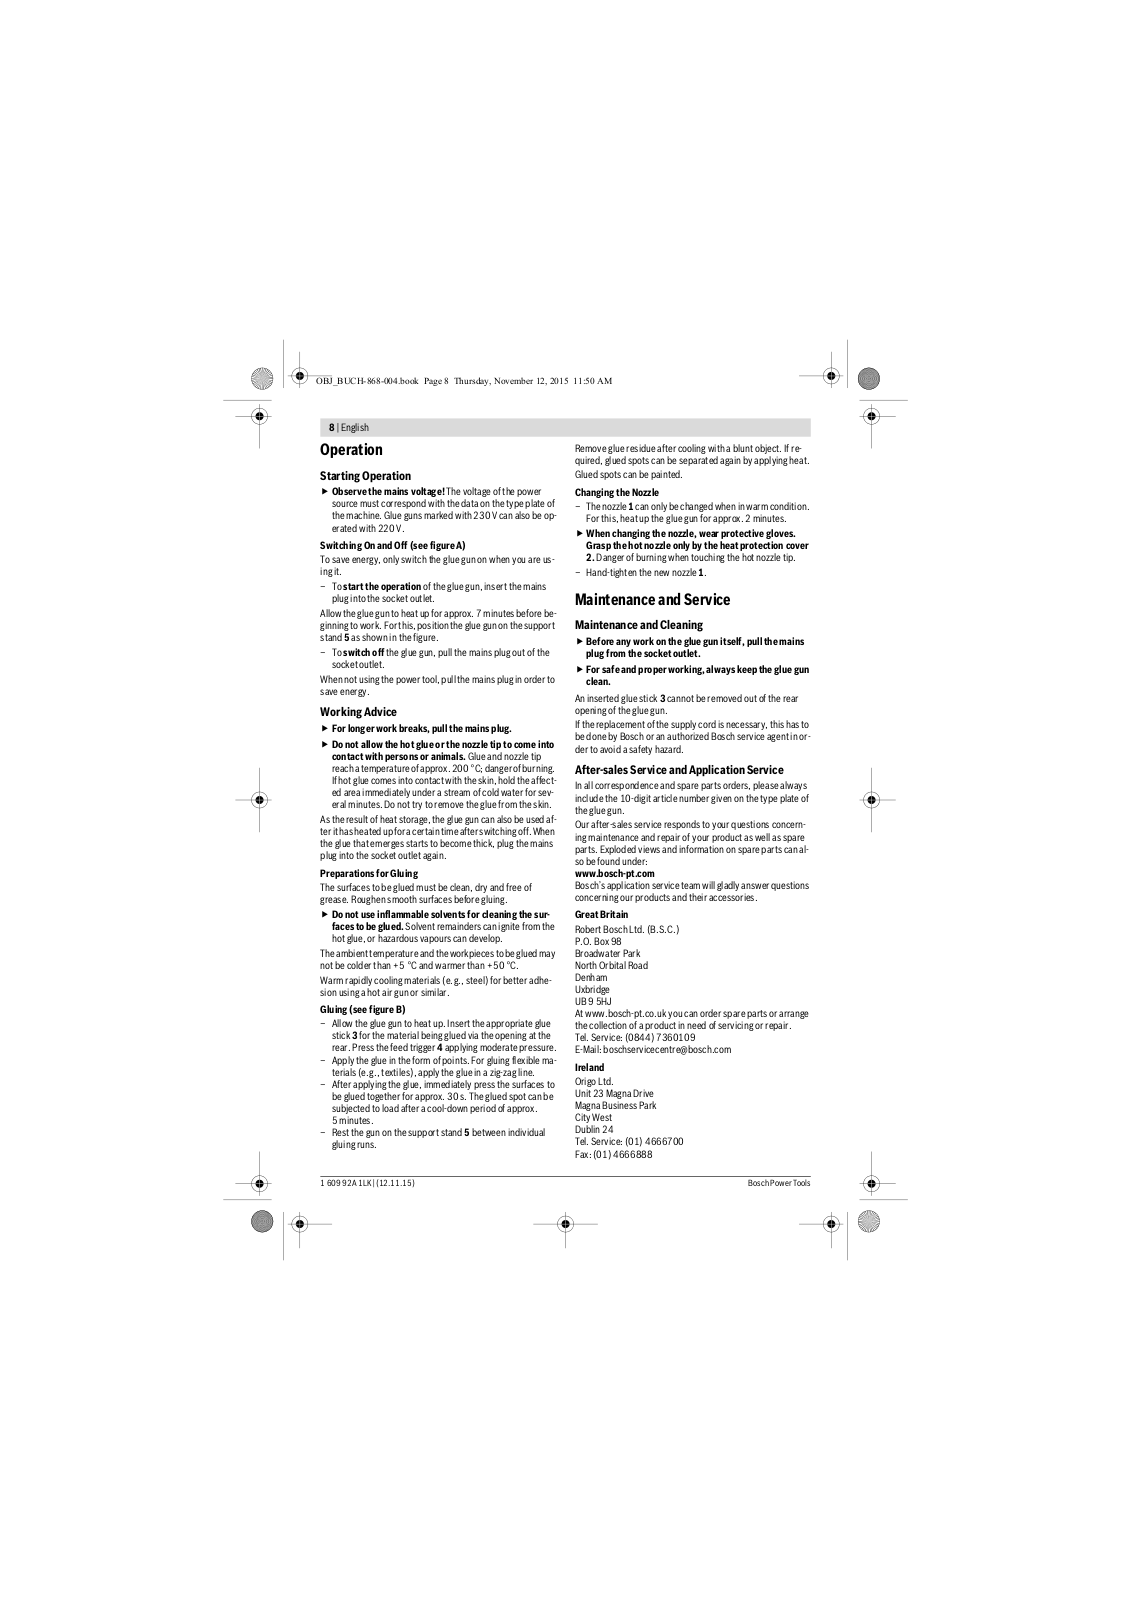
Operation
Starting Operation
- Pay attention to the mains voltage! The voltage of the power source must match the voltage specified on the rating plate of the glue gun.
Switching On/Off (see figure A)
To switch on the glue gun, plug the mains plug into a plug socket.
Allow the glue gun to heat up for approx. seven minutes before starting work.
To do this, set the glue gun down on the support bracket (3) , as shown
in the figure.
To switch off the glue gun, remove the mains plug from the plug socket.
- Safely place the glue gun down after use and let it cool completely before packing it away. The hot nozzle can cause damage.
Working Advice
- Keep people and animals away from the hot adhesive and the nozzle tip. Adhesive and nozzle tip will heat up to approx. 200 °C, posing a risk of burns. If hot adhesive comes into contact with skin, immediately hold the affected area under a stream of cold water for several minutes. Do not try to remove the hot adhesive from the skin.
Only use adhesives that have been recommended by the manufacturer of the glue
gun and that are suitable for the processing temperature.
Adhesive bonds can become unstuck when they are affected by moisture or heat.
- Remove the mains plug for longer work breaks.
The glue gun can also be used when it is switched off after heating using the
heat accumulator. If the discharged adhesive becomes more viscous, plug the
mains plug back into the plug socket.
Preparing for gluing
The bonding locations must be clean, dry and free from grease.
The materials to be glued together and the work surface must not be easily
ignited or flammable.
Test whether heat-sensitive materials are suitable beforehand on a sample
workpiece.
The ambient temperature and the workpieces to be glued must not be colder than
+5 °C and not warmer than +50 °C.
Materials that cool the adhesive down quickly should be warmed first with a
hot air gun.
Gluing (see figure B)
Allow the glue gun to heat up.
Push the glue stick (5) suited to the material into the glue gun from
behind.
Apply moderate pressure to the feed trigger (4).
Apply the adhesive to a single side.
Press the materials you wish to glue together against each other for around 10
to 30 seconds immediately after applying the adhesive. It is still possible to
correct the bonding location at this point.
The bond is stable after approx. two minutes of cooling time.
Set the glue gun down on the support bracket (3) in between gluing
processes.
- Make sure you do not come into contact with the hot adhesive. Use a silicone mat to press permeable materials together.
Changing the nozzle
The nozzle (1) can only be removed when it is hot. To do so, heat up the
glue gun for approximately two minutes.
- Wear protective gloves when changing the nozzle. Only hold the heated nozzle by the heat shield (2).
Touching the hot nozzle tip poses a risk of burns.
Fasten the new nozzle (1) until it is hand-tight.
Application Tips
- Do not use flammable solvents to clean the bonding locations. The hot glue could ignite any solvent residue or release hazardous fumes.
Adhesive residue on clothing cannot be removed.
The bonding locations can be painted.
Maintenance and Service
Maintenance and Cleaning
- Pull the mains plug out of the plug socket before carrying out any work on the glue gun.
- Keep the glue gun clean to ensure effective, safe operation.
In order to avoid safety hazards, if the power supply cord needs to be
replaced, this must be done by Bosch or by an after-sales service centre
that is authorised to repair Bosch power tools.
After the adhesive has hardened, you can remove it with a blunt object. Do not
use solvents when cleaning. If necessary, the bonding locations can be unstuck
again by applying heat.
An inserted glue stick (5) must not be removed from the rear of the glue
gun. This is to prevent damage to the glue gun.
After-Sales Service and Application Service
Our after-sales service responds to your questions concerning maintenance and
repair of your product as well as spare parts. You can find explosion drawings
and information on spare parts at: www.bosch-pt.com
The Bosch product use advice team will be happy to help you with any questions
about our products and their accessories.
In all correspondence and spare parts orders, please always include the
10‑digit article number given on the nameplate of the product.
Great Britain
Robert Bosch Ltd. (B.S.C.)
P.O. Box 98
Broadwater Park
North Orbital Road
Denham Uxbridge
UB 9 5HJ
At www.bosch-pt.co.uk you can order spare parts or arrange the collection of a
product in need of servicing or repair.
Tel. Service: (0344) 7360109
E-Mail: boschservicecentre@bosch.com
You can find further service addresses at:
www.bosch-pt.com/serviceaddresses
Disposal
The glue guns, accessories and packaging should be sorted for environmental-
friendly recycling.
Do not dispose of glue guns along with household waste!
Only for EU countries:
According to the Directive 2012/19/EU on waste electrical and electronic
equipment and its transposition into national law, electrical and electronic
equipment that are no longer usable must be collected separately and disposed
of in an environmentally correct manner.
If disposed incorrectly, waste electrical and electronic equipment may have
harmful effects on the environment and human health, due to the potential
presence of hazardous substances.
Only for United Kingdom:
According to The Waste Electrical and Electronic Equipment Regulations 2013
(SI 2013/3113) (as amended), products that are no longer usable must be
collected separately and disposed of in an environmentally friendly manner.

Bosch Power Tools
1 609 92A 7UT | (05.07.2022)
References
- Invented for life | Bosch Global
- Skånevik Ølen Kraftlag AS
- Bosch Power Tools | Bosch Power Tools
- Location selection | Bosch Power Tools
- Service worldwide
- Bosch Elektrowerkzeuge und Zubehör | Bosch Elektrowerkzeuge
- Bosch el-værktøj | Bosch el-værktøj
- Bosch-sähkötyökalut | Bosch-sähkötyökalut
- Outillage électroportatif Bosch | Outillage électroportatif Bosch
- Home | Bosch Power Tools
- Invented for life | Bosch Global
- Ana Sayfa | Bosch Türkiye
- herramientasbosch.net
Read User Manual Online (PDF format)
Read User Manual Online (PDF format) >>
Download This Manual (PDF format)
Download this manual >>
Хорошее руководство по эксплуатации
Законодательство обязывает продавца передать покупателю, вместе с товаром, руководство по эксплуатации Bosch PKP 18 E. Отсутствие инструкции либо неправильная информация, переданная потребителю, составляют основание для рекламации в связи с несоответствием устройства с договором. В законодательстве допускается предоставлении руководства в другой, чем бумажная форме, что, в последнее время, часто используется, предоставляя графическую или электронную форму инструкции Bosch PKP 18 E или обучающее видео для пользователей. Условием остается четкая и понятная форма.
Что такое руководство?
Слово происходит от латинского «instructio», тоесть привести в порядок. Следовательно в инструкции Bosch PKP 18 E можно найти описание этапов поведения. Цель инструкции заключается в облегчении запуска, использования оборудования либо выполнения определенной деятельности. Инструкция является набором информации о предмете/услуге, подсказкой.
К сожалению немного пользователей находит время для чтения инструкций Bosch PKP 18 E, и хорошая инструкция позволяет не только узнать ряд дополнительных функций приобретенного устройства, но и позволяет избежать возникновения большинства поломок.
Из чего должно состоять идеальное руководство по эксплуатации?
Прежде всего в инструкции Bosch PKP 18 E должна находится:
— информация относительно технических данных устройства Bosch PKP 18 E
— название производителя и год производства оборудования Bosch PKP 18 E
— правила обслуживания, настройки и ухода за оборудованием Bosch PKP 18 E
— знаки безопасности и сертификаты, подтверждающие соответствие стандартам
Почему мы не читаем инструкций?
Как правило из-за нехватки времени и уверенности в отдельных функциональностях приобретенных устройств. К сожалению само подсоединение и запуск Bosch PKP 18 E это слишком мало. Инструкция заключает ряд отдельных указаний, касающихся функциональности, принципов безопасности, способов ухода (даже то, какие средства стоит использовать), возможных поломок Bosch PKP 18 E и способов решения проблем, возникающих во время использования. И наконец то, в инструкции можно найти адресные данные сайта Bosch, в случае отсутствия эффективности предлагаемых решений. Сейчас очень большой популярностью пользуются инструкции в форме интересных анимаций или видео материалов, которое лучше, чем брошюра воспринимаются пользователем. Такой вид инструкции позволяет пользователю просмотреть весь фильм, не пропуская спецификацию и сложные технические описания Bosch PKP 18 E, как это часто бывает в случае бумажной версии.
Почему стоит читать инструкции?
Прежде всего здесь мы найдем ответы касательно конструкции, возможностей устройства Bosch PKP 18 E, использования отдельных аксессуаров и ряд информации, позволяющей вполне использовать все функции и упрощения.
После удачной покупки оборудования/устройства стоит посвятить несколько минут для ознакомления с каждой частью инструкции Bosch PKP 18 E. Сейчас их старательно готовят или переводят, чтобы они были не только понятными для пользователя, но и чтобы выполняли свою основную информационно-поддерживающую функцию.